¿QUÉ ESTÁS BUSCANDO?

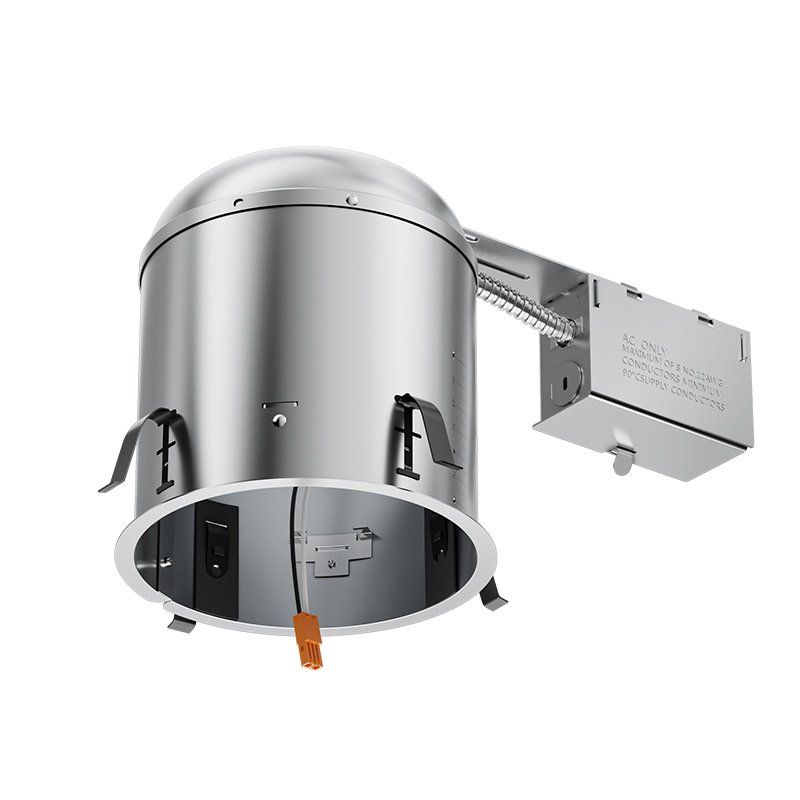
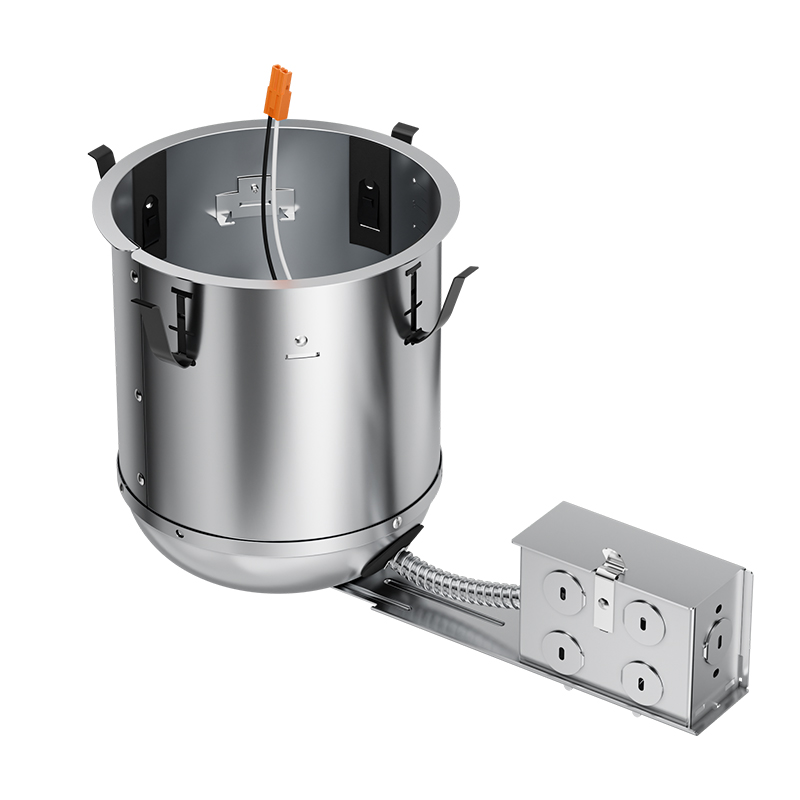
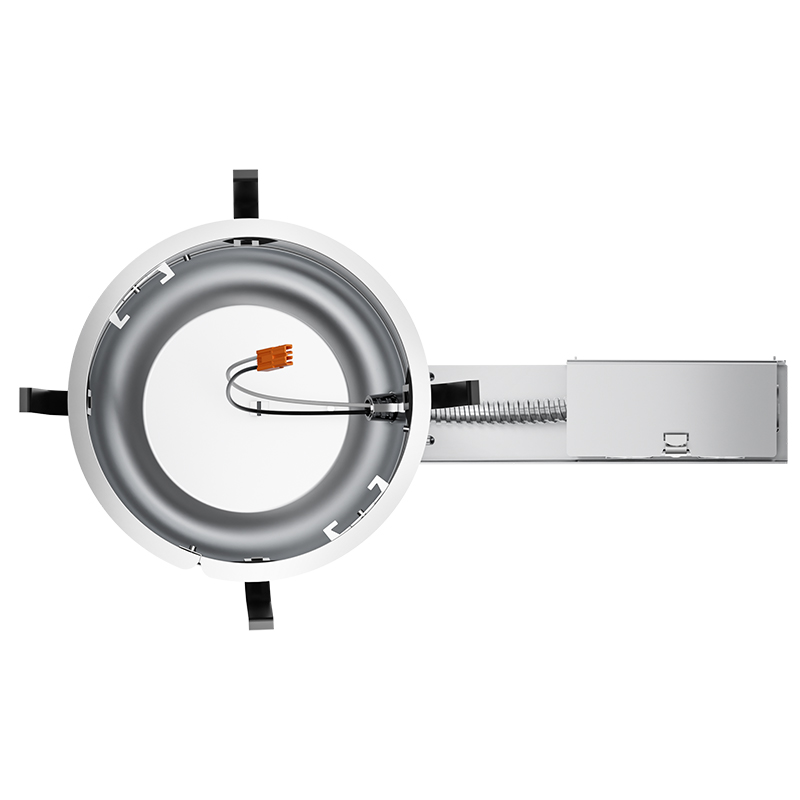
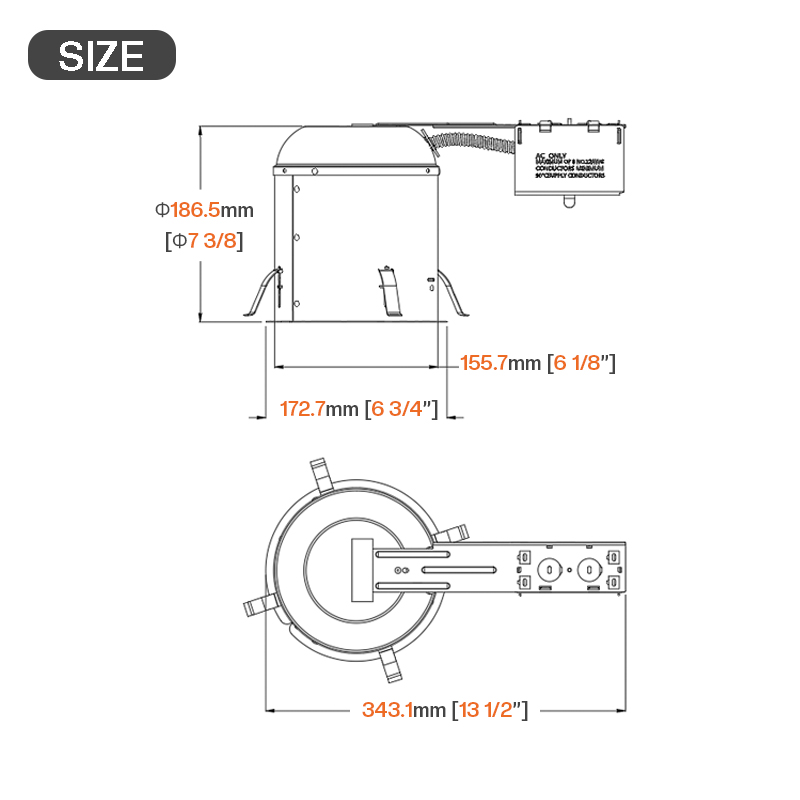
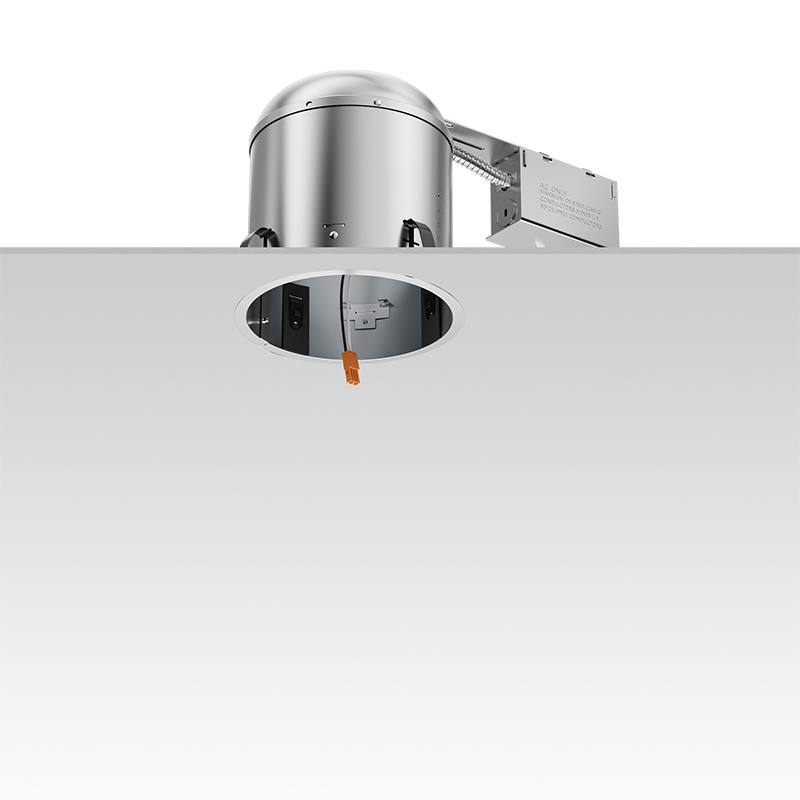
6" Remodel Recessed Light Can
ETL-Certified Steel Construction. Zero-Compromise Retrofit Performance.
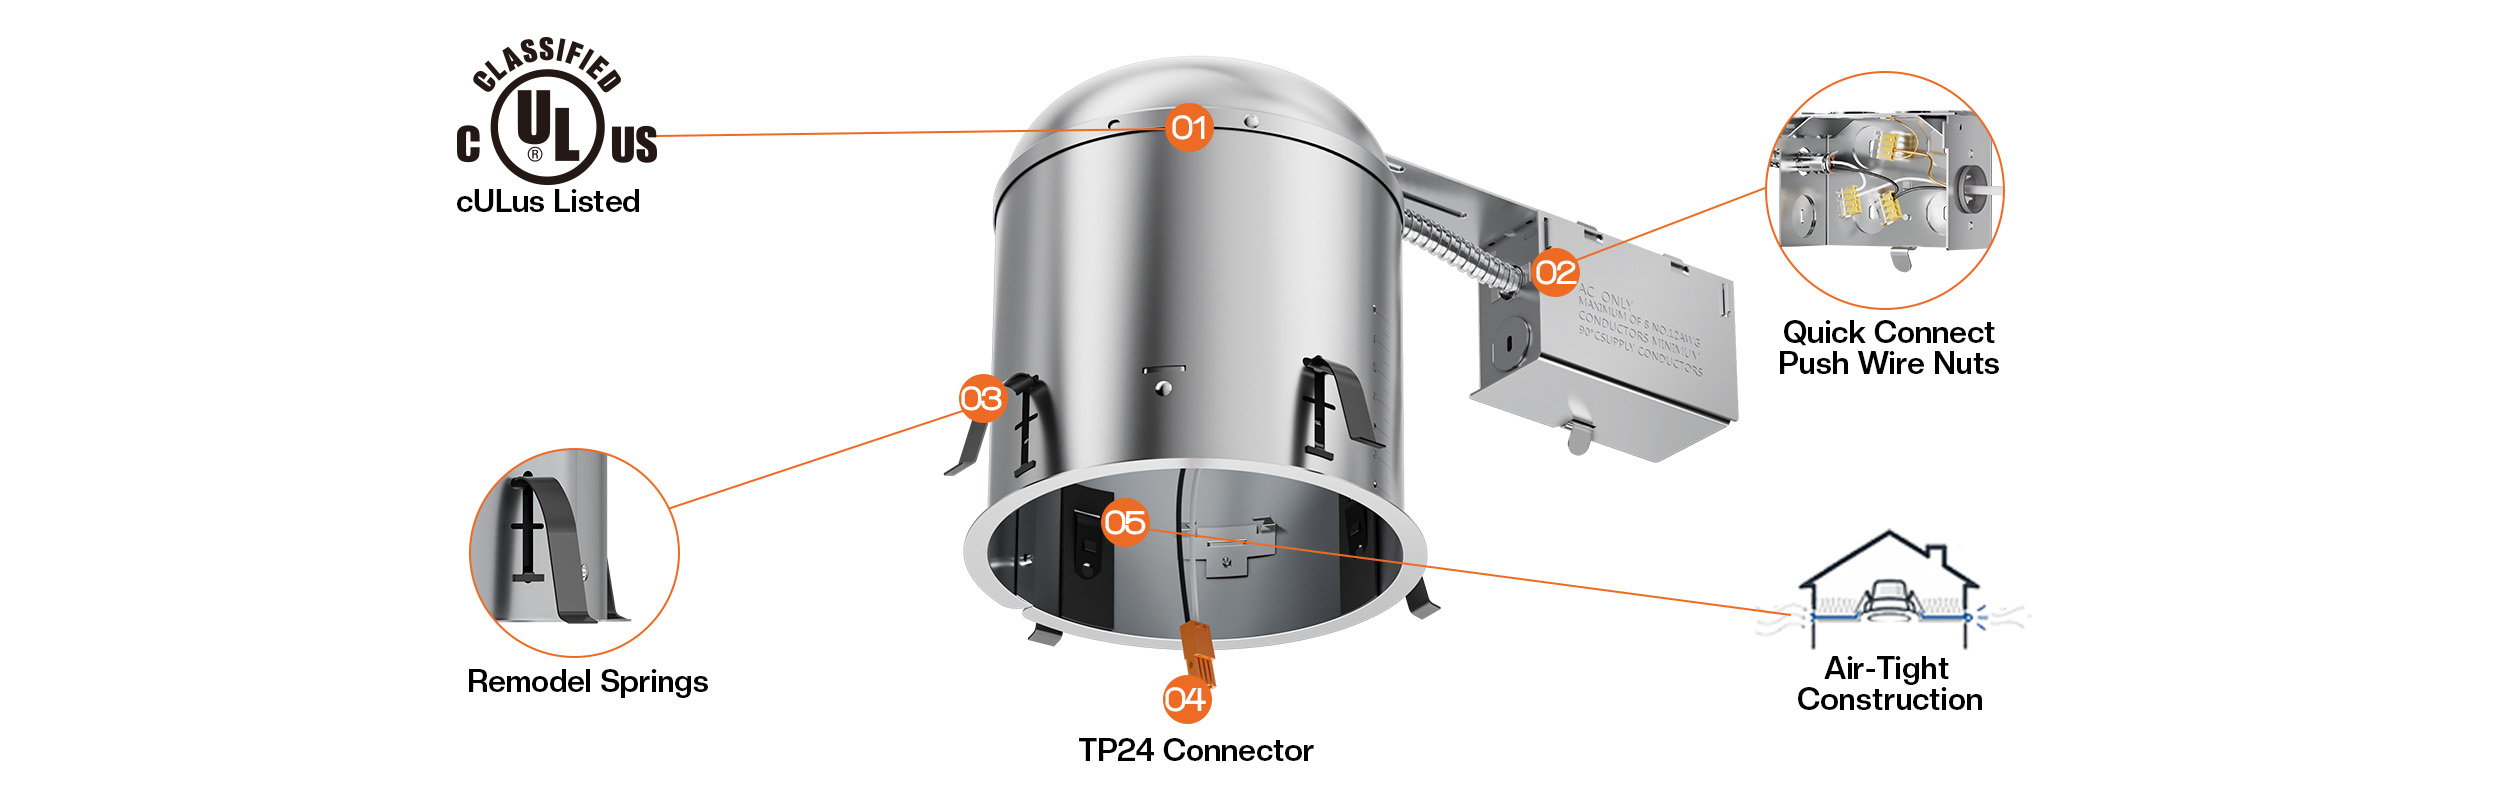
Galvanized Steel Durability: Heavy-gauge galvanized steel construction delivers long-term structural integrity and corrosion resistance — built to outlast the interior it illuminates.
Certified Safety You Can Specify: ETL certification provides third-party confirmation that this housing meets North American electrical safety standards, giving architects, contractors, and AHJs objective confidence on every project.
Retrofit-Optimized Design: Engineered for installation from below the ceiling plane, this can eliminates the need for attic access in finished rooms, multi-story buildings, and occupied renovation projects.

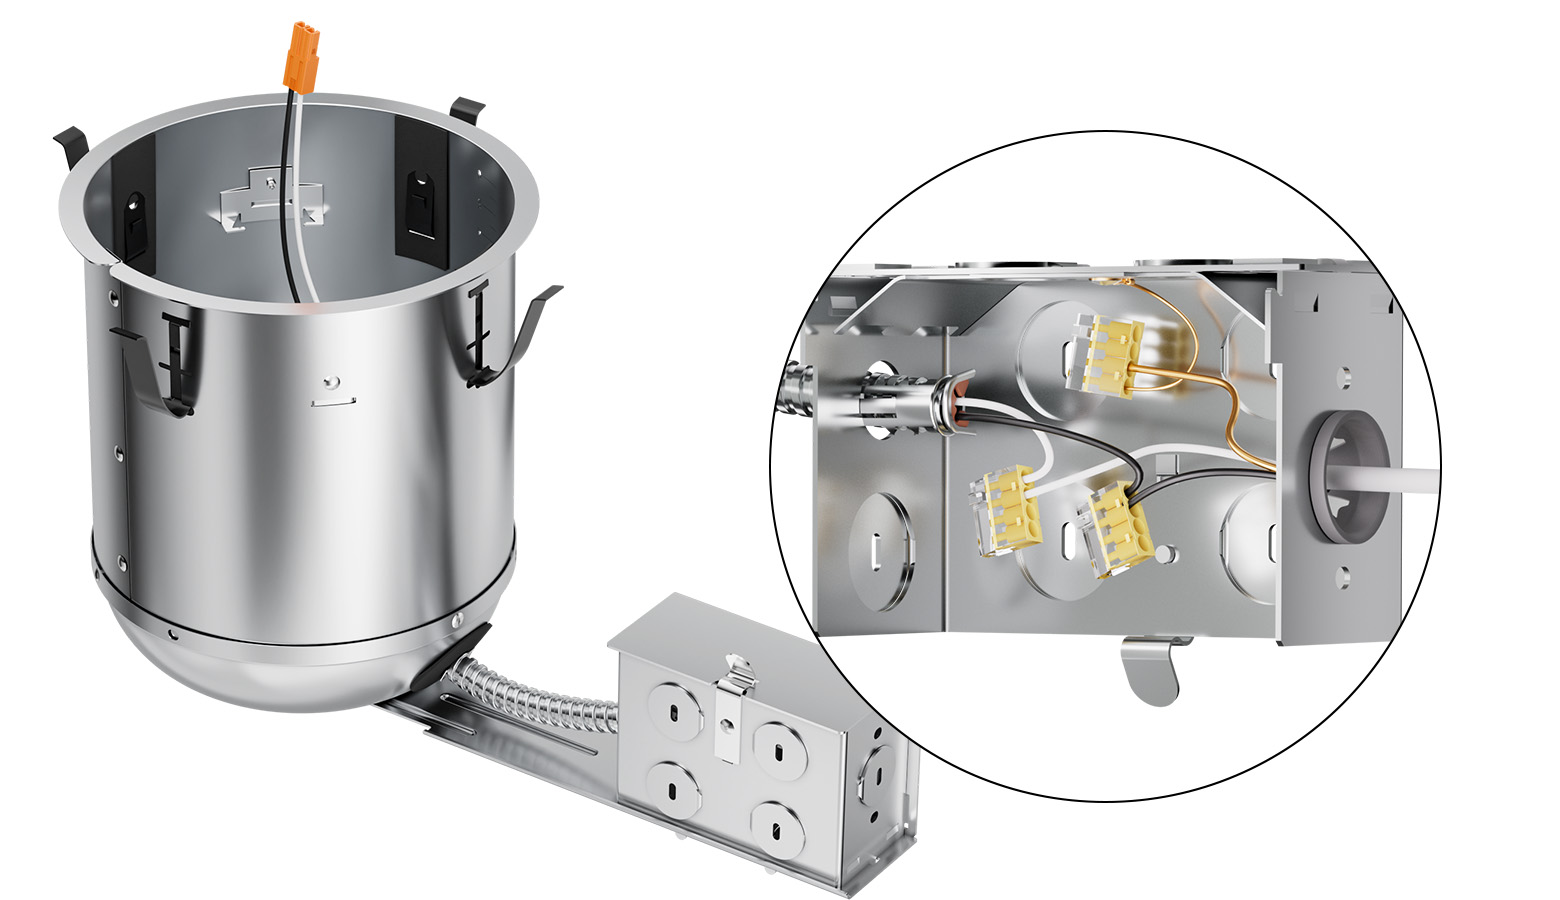
Quick Connect Push Wire Nuts
The pre-equipped junction box features push wire nuts for fast, tool-free branch circuit connections during retrofit installation. This eliminates the need for separate wire caps on the job site, reduces per-fixture installation time across multi-room renovation projects, and minimizes the risk of loose connections over the housing's service life.
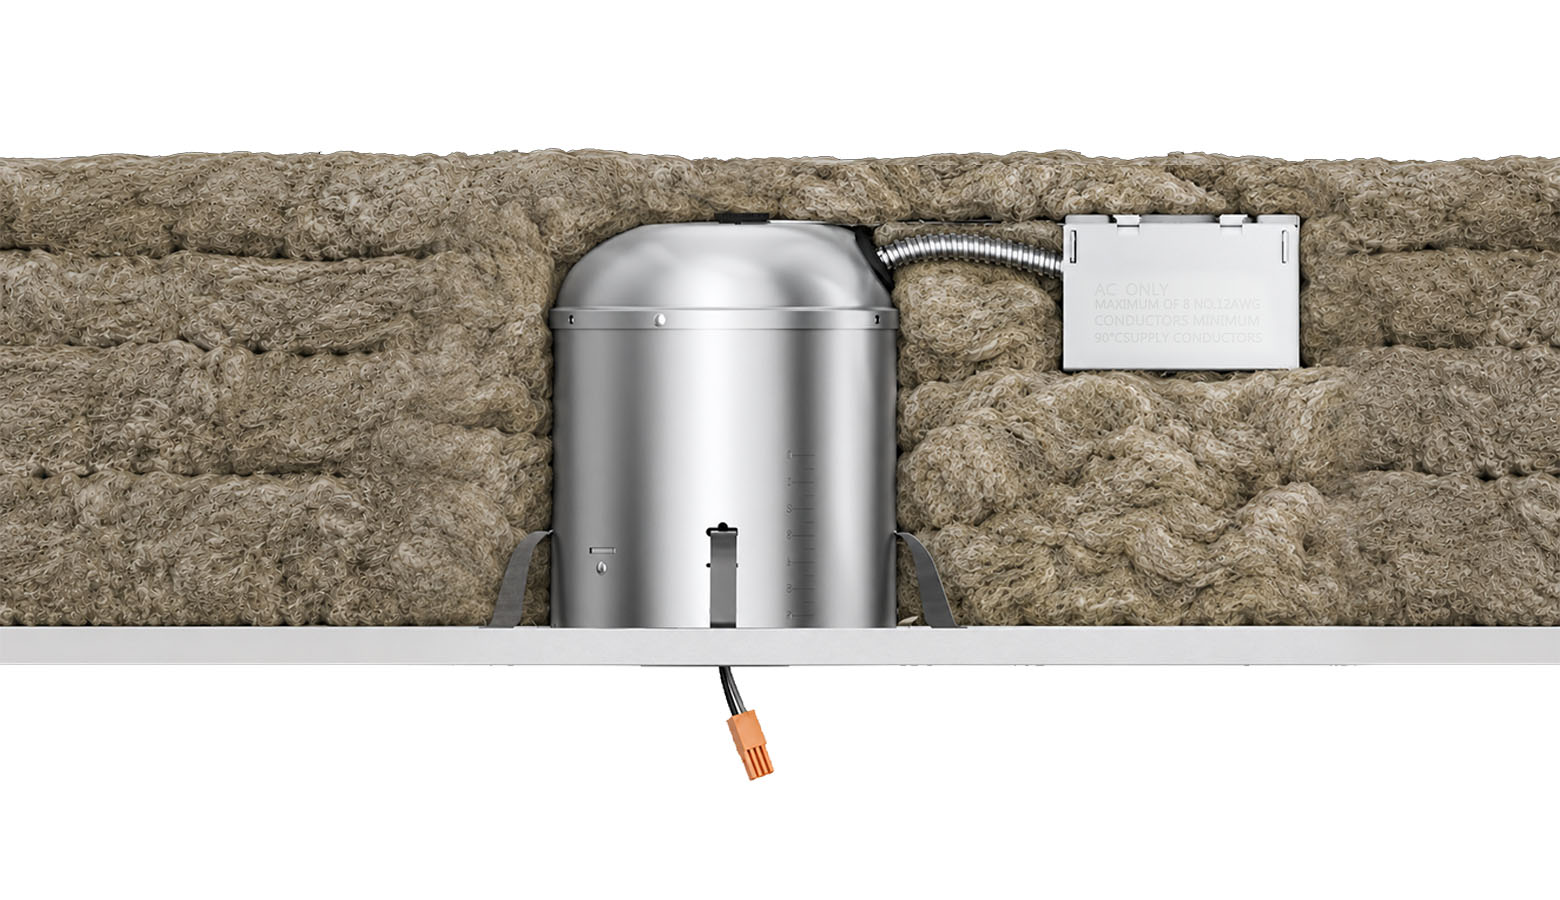
IC-Rated for Direct Insulation Contact
ETL-verified IC rating confirms that this housing may be installed in direct contact with ceiling insulation — no clearance gap required. This removes the need for supplemental fire-protection enclosures or insulation dams in insulated ceiling retrofits, streamlining compliance and reducing material costs on projects where insulation is present above the ceiling plane.
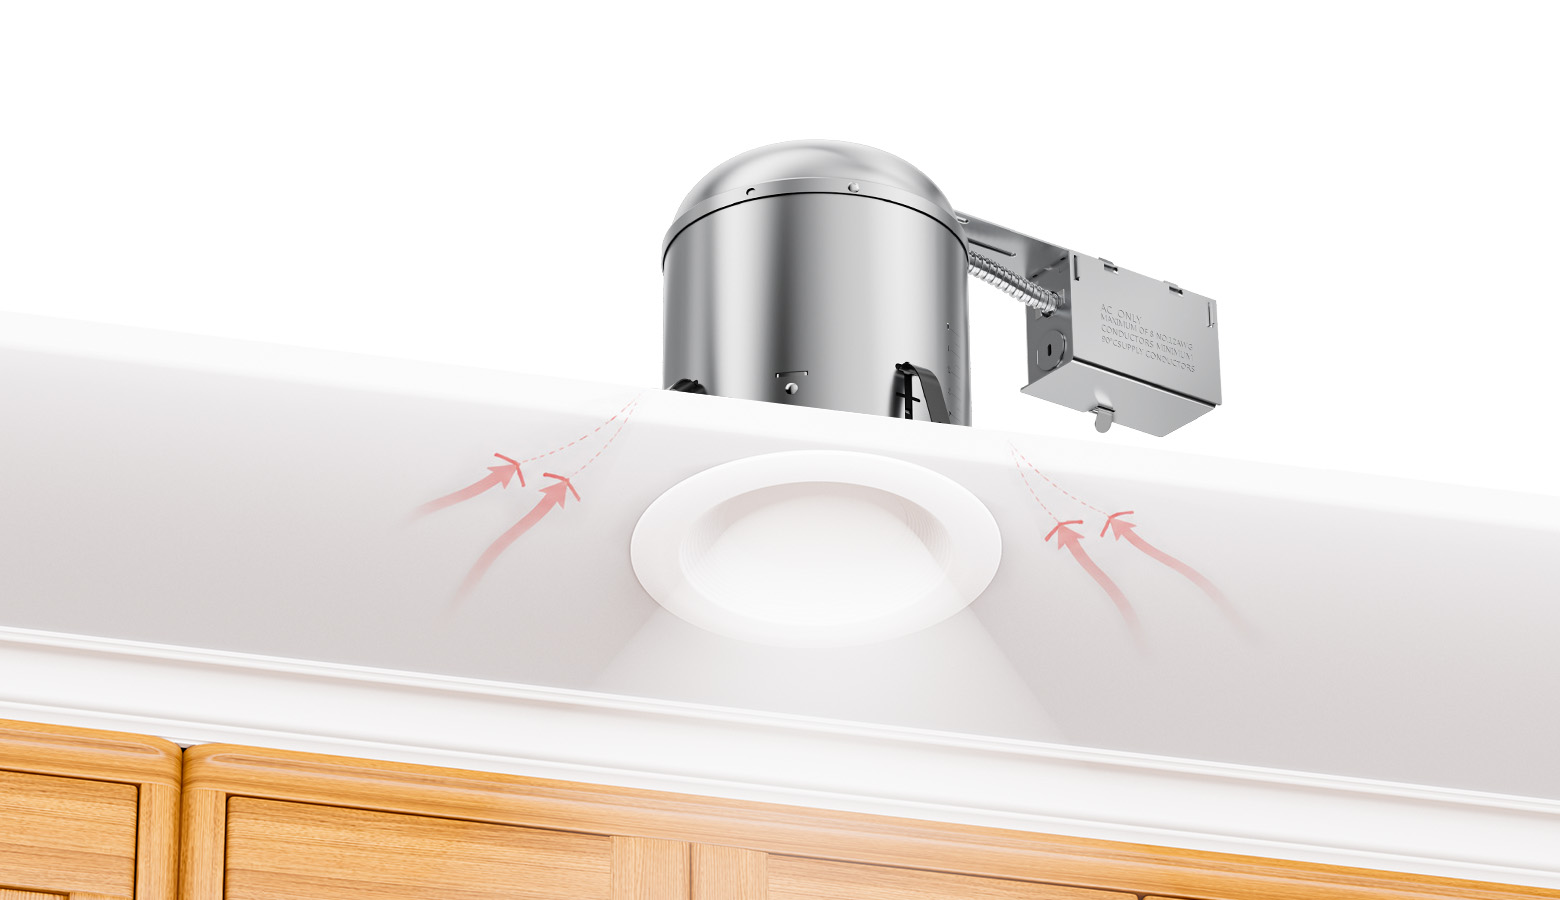
Air-Tight Construction for Energy Efficiency
The airtight housing body seals each ceiling penetration against conditioned air loss. By preventing the thermal bypass that occurs at unsealed recessed can openings, this housing directly supports building HVAC efficiency and helps projects satisfy IECC and California Title 24 energy code requirements — a quantifiable performance benefit for energy audits, green building certifications, and utility rebate programs.

A:No. This is a remodel housing designed for installation entirely from below the ceiling — no attic access required.
A:ETL certification is a recognized third-party mark confirming the housing has been independently tested and verified to meet applicable North American electrical safety standards.
A:Yes. The IC rating certifies safe, direct contact with ceiling insulation without any clearance gap requirement.
1. Using template,scribe on ceiling in desired location,Using drywall saw,carefully cut hole marked location. (Fig.1)
2. Connect electrical wires (see instruction below) (Fig.2).
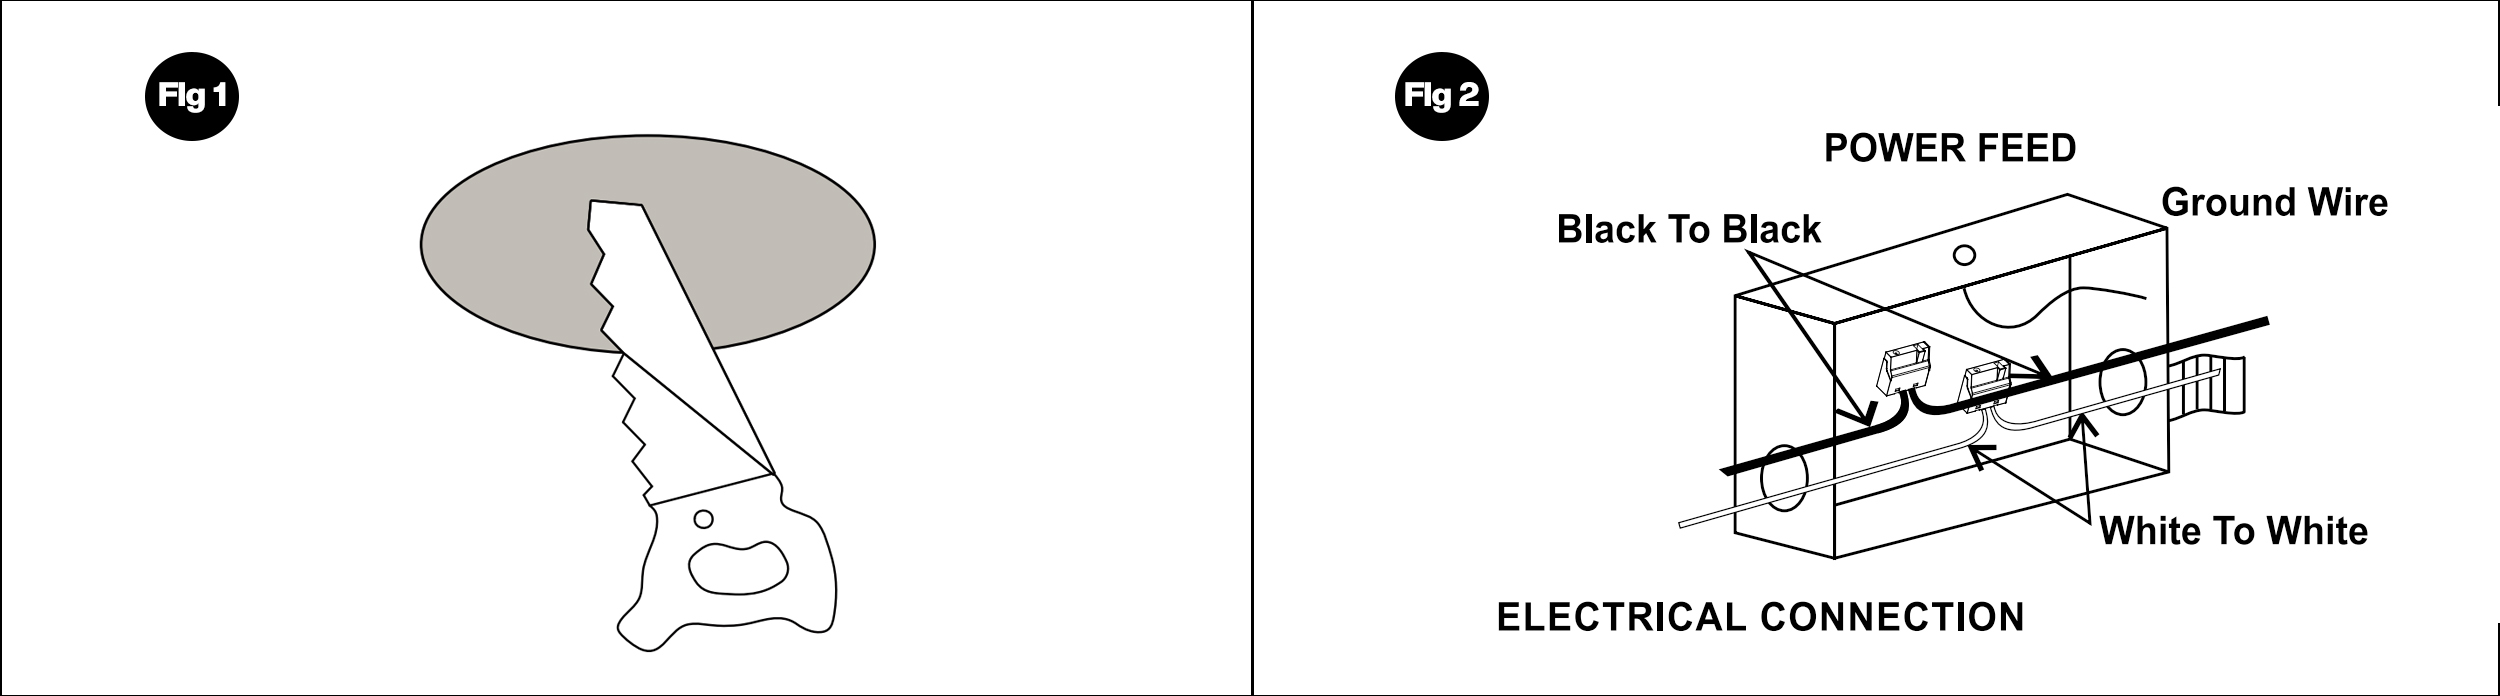
3. Insert housing into ceiling. (FIG.3)
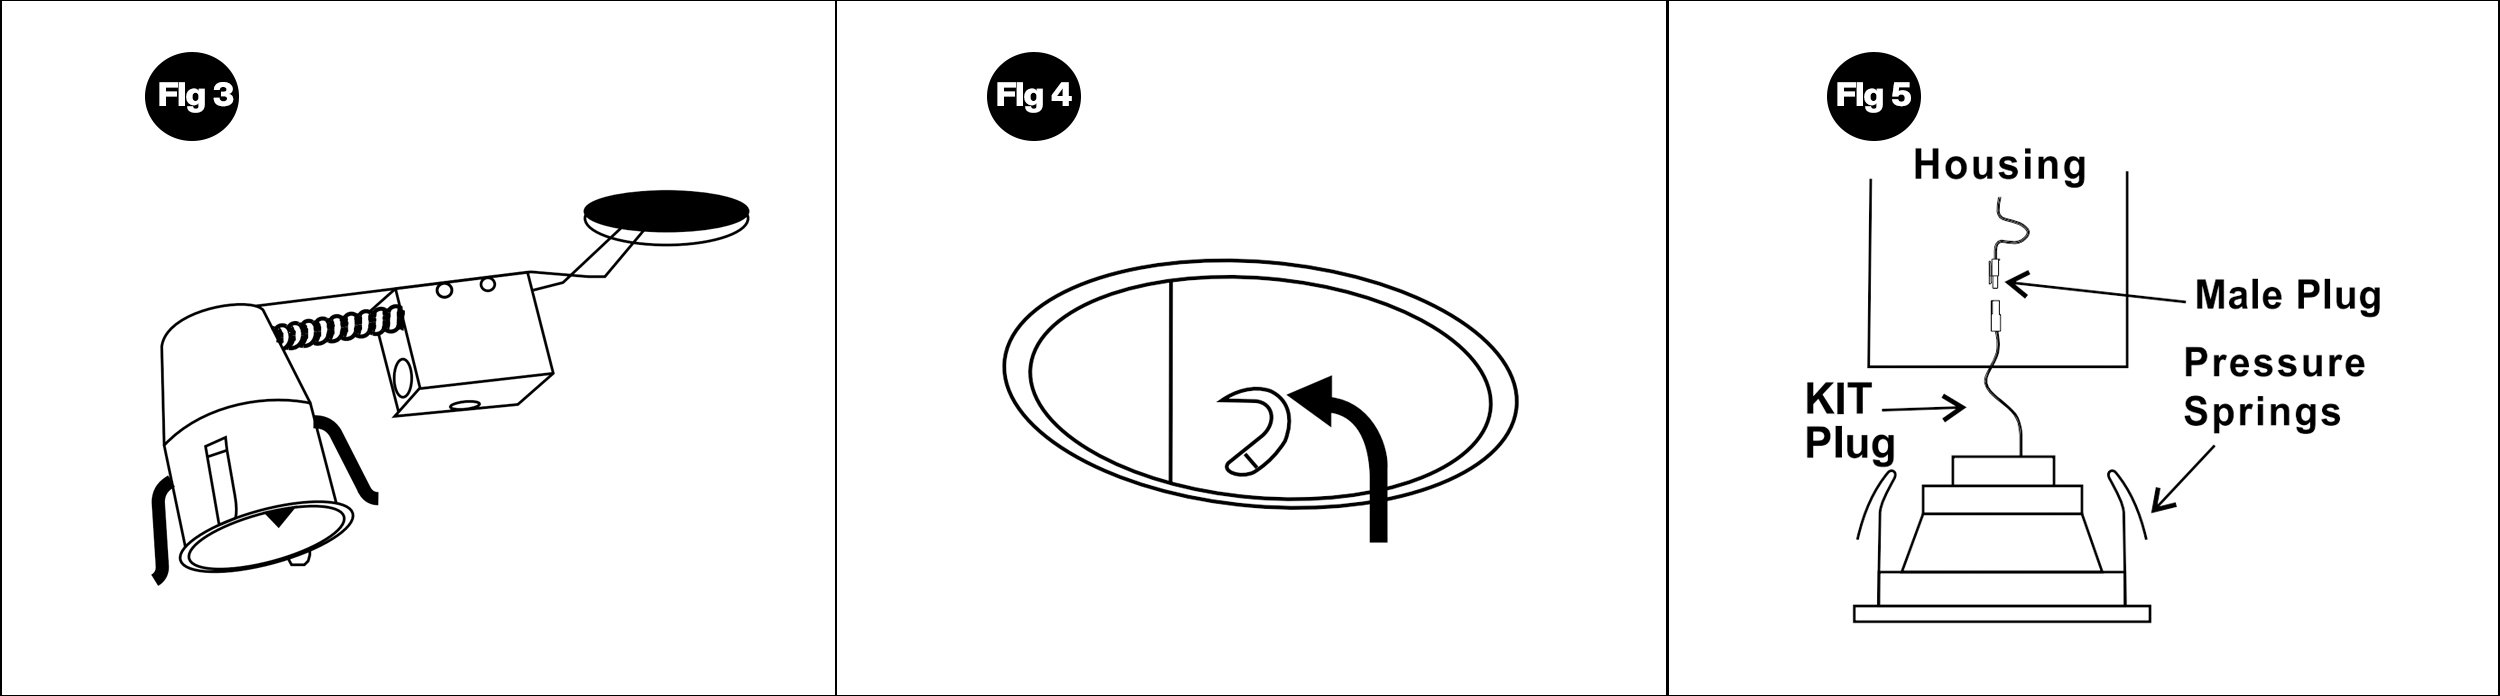
4. Hold housing flush against ceiling and push out clips,to fasten fixture to the ceiling.Make sure to fully push clips until they lock into place. (Fig.4)
5. Install trim(see below). (Fig.5)
dejar un mensaje
Escanea y envíalo a WeChat. :

Escanea y envíalo a WhatsApp. :

Hogar
Productos
contacto